Wet-on-wet painting is a technique in which fresh paint is applied to a surface that is still wet, allowing colors to blend directly on the canvas. It may sound unpredictable, but with a prepared surface, a few colors, and simple brushwork, it is approachable for beginners. The technique appears in oil, watercolor, and acrylic painting, though each medium behaves differently; learning how to control moisture and timing makes the process easier and more enjoyable.
Wet-on-wet painting: what the technique means
Wet-on-wet painting, also called “alla prima” in oil painting, means adding wet paint to a wet ground or to paint that has not yet dried. The National Gallery of Art describes alla prima as a method of completing a painting in one session, with wet paint applied directly over wet paint. The terms overlap, although wet-on-wet can describe the broader technique across several media, while alla prima is most commonly associated with oil painting.
The method’s defining feature is that colors can merge, soften, or mix on the painting surface instead of being kept apart by dried layers. That can create luminous transitions and lively marks, but it also means that too much brushing may muddy colors. The basic aim is not to eliminate unpredictability; it is to guide it.
How wet paint changes the way colors mix
When fresh paint meets fresh paint, the colors may blend physically on the surface. A light touch can produce a soft transition; repeated or forceful strokes can mix the paints more thoroughly and dull their appearance. The result depends on the medium, the amount of water or oil, the paint’s consistency, and the pressure and direction of the brush.
This is different from glazing, where a transparent layer is applied over a dry layer. Wet-on-wet blending happens while the paint is still workable, so the painter can adjust an edge or shift a color immediately. Think of a sunset: a few adjacent strokes can be softened into a gradient, while leaving them untouched preserves visible bands of color.
Why beginners can find it approachable
Wet-on-wet painting can reduce the need to wait for one layer to dry before adding another. It also encourages painters to work with broad shapes and direct decisions rather than endlessly refining small details. These qualities make it a useful way to practise color relationships, brush control, and observation.
The technique does have a learning curve: paint that is too wet can spread beyond the intended area, while paint that is too thick may resist blending. A small practice study is often more helpful than trying to control every stroke in a large, detailed painting.
Wet-on-wet painting methods by medium
The core idea stays the same across media, but each paint has different drying and handling characteristics. Watercolor relies on water and absorbent paper; oils remain workable for a longer period; and acrylics generally dry faster, so painters often need to work in smaller sections or use products designed to extend working time.
Watercolor wet-on-wet: letting water guide the pigment
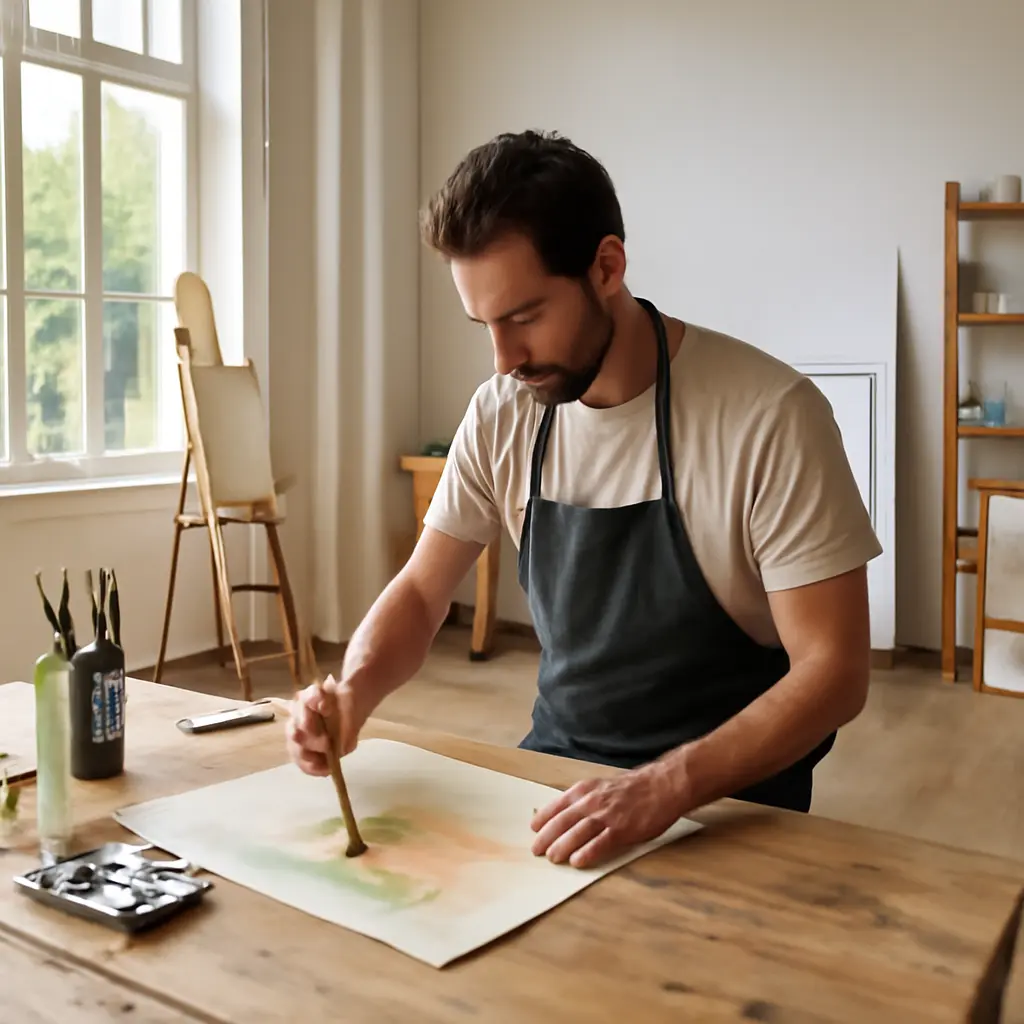
In watercolor, the painter wets the paper before applying pigment, or places fresh color into an already damp wash. The pigment travels with the water, creating soft edges and flowing transitions. The amount of moisture matters: a glossy, visibly wet surface encourages more movement, while paper that has begun to lose its shine usually allows more controlled marks.
Watercolor artist and educator John C. Cogley, in the Art of Watercolor, explains wet-in-wet painting as applying watercolor to a damp surface so the pigment can spread and mingle. Because paper and conditions affect how quickly moisture evaporates, it is useful to practise on the same paper you intend to use for a finished piece. For example, a wet-on-wet sky can be made by laying down a clean wash, then dropping in blue and warm colors while the surface is still evenly damp.
Oil alla prima: painting directly into fresh paint
In oil painting, alla prima means building and finishing an image while the paint remains wet, often in one sitting. Oil paint’s extended working time gives painters more opportunity to blend edges, adjust shapes, and revise colors. It can also make it easy to overwork a passage, so artists often place a stroke deliberately and leave it alone if it is already doing its job.
A practical example is a quick portrait study: the painter blocks in the large light and shadow shapes first, then places features and transitions into those wet areas. The National Gallery of Art’s discussion of alla prima connects the method with direct, immediate painting, rather than a sequence of separately dried layers.
Acrylic wet-on-wet: managing a shorter working window
Acrylic wet-on-wet painting means blending or layering acrylic colors before they dry. Since acrylics typically set more quickly than oils, painters can work on a smaller area at a time, keep a spray bottle nearby to lightly re-wet the palette or surface when appropriate, or use a manufacturer’s retarder or slow-drying medium according to its instructions.
The Golden Artist Colors technical resource on acrylic drying explains that drying time varies with factors such as paint thickness, airflow, temperature, and humidity. This is why there is no single reliable number of minutes for every acrylic painting. Rather than flooding the canvas with water, test how your paint behaves and keep the working area manageable.
Wet-on-wet painting supplies and preparation
A simple setup makes wet-on-wet painting easier because it reduces interruptions while the paint is workable. You do not need a large collection of supplies: choose a suitable surface, a limited palette, brushes that fit the marks you want, and a way to manage the medium’s moisture or consistency.
Choose a surface suited to the medium
Watercolor generally needs paper made for watercolor so it can handle water without buckling excessively. Oil painters commonly use primed canvas, panel, or another properly prepared surface. Acrylics work on many primed supports, but the surface should be appropriate for acrylic paint and the intended use.
For a first attempt, use a modest sheet or panel rather than a large canvas. A smaller surface lets you practise blending and timing without having to keep a broad area wet. If using watercolor, a flat board and suitable paper can make it easier to apply an even wash.
Limit the palette and prepare colors in advance
A limited palette is a small group of colors selected to work together. Preparing a few colors before painting helps prevent frantic mixing while a wash or layer is drying. It also makes it easier to observe how two colors interact when they meet wet-on-wet.
Try a simple study with a warm color, a cool color, and a neutral. Make a small chart of combinations on the same surface you plan to paint on. The chart is a practical experiment rather than a universal color formula: pigments differ, and the amount of water or medium changes the result.
Wet-on-wet painting steps for a first exercise
A beginner exercise can be as simple as painting a two-color sky or a soft abstract gradient. The goal is to notice how the surface responds and how much blending is enough—not to create a perfect picture on the first try.
- Prepare the surface and materials before starting. Set out your colors, brushes, water or medium, and a test area.
- Apply an even first layer appropriate to your medium. For watercolor, dampen the paper evenly; for oil or acrylic, establish the first wet color shapes.
- Add a second color while the surface is still wet. Place it beside or into the first color rather than immediately scrubbing the two together.
- Watch the edge. If you want a soft transition, use a clean, lightly damp brush to gently connect the colors. If you prefer a crisp mark, leave the edge alone.
- Stop before the area becomes muddy. Let the paint settle or dry, then review what worked before beginning another study.
Common wet-on-wet painting problems and fixes
Most early difficulties come from surface moisture, paint consistency, or excessive brushwork. The solution is usually to adjust one variable at a time, rather than adding more paint or repeatedly correcting the same area.
Colors spread farther than intended
This often happens when the surface is very wet or the paint is highly diluted. In watercolor, wait until the paper loses its wet sheen before placing a sharper shape. In acrylics and oils, use paint with a consistency suited to the mark and avoid putting a very fluid color into a thick, wet passage unless you want it to move.
Blends become dull or muddy
Too much mixing can combine colors until the result looks dull, especially when several pigments are repeatedly worked together. Use fewer colors in a passage, clean the brush between mixtures, and try placing strokes side by side before blending them. A useful rule of thumb is to make one gentle adjustment, then pause and assess the result.
Acrylic paint dries before blending is complete
Acrylic’s working time depends on paint formulation and the conditions in the room. Work in smaller sections, prepare colors ahead of time, and consider a compatible slow-drying product if the manufacturer recommends one. Avoid relying on a single drying-time estimate: temperature, airflow, humidity, and layer thickness can all change how quickly paint dries.
Conclusion: wet-on-wet painting is easier with practice
Wet-on-wet painting is simply the practice of applying fresh paint to a wet surface or fresh paint layer. Its main variations—watercolor wet-in-wet, oil alla prima, and acrylic wet-on-wet—share an interest in direct blending but require different approaches to moisture and timing. With a suitable surface, a limited palette, and a small test exercise, beginners can learn to guide soft edges and color transitions without trying to control every mark.
Start with a small study, observe how your chosen medium behaves, and record what you notice. That hands-on experiment is the best next step toward making wet-on-wet painting feel less intimidating and more like an invitation to explore.
Sources: National Gallery of Art, “Alla Prima,” https://www.nga.gov/learn/teachers/lessons-activities/painting/alla-prima.html; John C. Cogley, Art of Watercolor, “Wet-in-Wet,” https://www.artofwatercolor.com/; Golden Artist Colors, “Acrylic Drying Time,” https://goldenartistcolors.com/resources/acrylic-drying-time.